Video editing is an essential skill in the modern world of digital content creation. Whether you want to create YouTube videos, produce short films, or edit marketing videos for your business, video editing can bring your creative vision to life. If you’re a newbie looking to dive into the world of video editing, this comprehensive guide will provide you with a thorough understanding of what video editing is, the key principles and processes involved, and how to get started on your journey.
What is Video Editing?
Video editing is the process of manipulating and arranging video clips, audio, and visual effects to create a cohesive and engaging video. It involves selecting, trimming, and arranging video footage, adding music or sound effects, and applying various effects and transitions to tell a compelling story or convey a specific message.
Video editing is not limited to professional filmmakers or content creators; it has become accessible to anyone with a smartphone or a computer. With the right software and skills, you can edit videos for personal use, social media, educational purposes, or even as a career.
Key Principles of Video Editing
1.Storytelling:
Video editing is a form of visual storytelling. Your primary goal should be to tell a story or convey a message effectively. This involves structuring your video with a clear beginning, middle, and end, creating a narrative flow, and keeping your audience engaged.
2. Flow and Continuity:
Maintaining a smooth and seamless flow in your video is crucial. This includes ensuring that transitions between shots are natural and that audio and visual elements align cohesively. Continuity errors, such as mismatched eyelines or sudden jumps in action, can be distracting.
3. Visual and Audio Composition:
Effective video editing also involves considering the visual and audio elements in your video. This includes framing your shots, adjusting lighting, selecting appropriate music, and mixing audio to create a balanced and engaging viewing experience.
4. Pacing:
The pacing of your video is essential for holding your audience’s attention. This means adjusting the timing of shots and sequences to create tension, excitement, or a sense of calm, depending on the narrative or message you’re conveying.
5. Emotion and Impact:
Video editing can evoke emotions and leave a lasting impact on the viewer. Through the selection of shots, music, and timing, you can create a powerful emotional response in your audience.
6. Consistency:
Consistency in style and design elements, such as text, color grading, and transitions, helps create a polished and professional look in your videos. A consistent visual identity can also help build brand recognition if you’re editing videos for a business or personal brand.
The Video Editing Process
Video editing follows a structured process that includes several key stages. These stages can vary depending on the complexity of the project and the software you’re using, but the following provides a general overview:
1. Importing Media:
The first step is to import your video clips, audio, and any additional media (images, graphics) into your video editing software. This is where you organize your raw materials.
2. Organizing Footage:
Once your media is imported, organize your footage into folders or bins to keep things tidy and easily accessible. This is particularly important for longer projects with multiple clips.
3. Selecting the Best Takes:
Review your video clips and select the best takes. Look for clear, well-exposed shots with good framing, proper focus, and minimal camera shake.
4. Arranging Clips:
Begin arranging your selected clips on the timeline of your video editing software. The timeline is where you piece together the visual sequence of your video.
5. Trimming and Cutting:
Trim or cut the clips to remove any unwanted content, such as mistakes, irrelevant footage, or excessive pauses. This step tightens the narrative flow.
6. Adding Transitions:
Add transitions between clips, such as cuts, dissolves, fades, or wipes. Transitions help smooth the visual flow and can be used for creative effect.
7. Audio Editing:
Adjust and mix the audio elements, including dialogue, music, and sound effects. Ensure that the audio is clear and properly balanced.
8. Adding Text and Graphics:
If your video requires text overlays, titles, or graphics, add them at this stage. These elements can provide context, information, or branding.
9. Color Grading:
Enhance the visual quality of your video by applying color correction and grading. This step ensures a consistent and appealing look.
10. Adding Effects:
Special effects, such as visual effects or motion graphics, can be added at this stage for creative or informative purposes.
11. Exporting:
Once you’re satisfied with your edited video, it’s time to export it. Select the appropriate export settings for your intended use, such as YouTube, social media, or presentations.
12. Review and Feedback:
Before finalizing your video, review it and consider seeking feedback from others. Fresh eyes can catch errors or provide valuable insights.
Some of the Tools for Video Editing
Video editing requires the use of specialized software to manipulate and edit video footage. There are various video editing software options available, ranging from beginner-friendly to professional-grade tools. Some popular options include:
1. Adobe Premiere Pro:
A professional-grade software used by filmmakers and video editors. It offers a wide range of features and capabilities.
2. Final Cut Pro X:
A Mac-exclusive video editing software known for its intuitive user interface and powerful features.
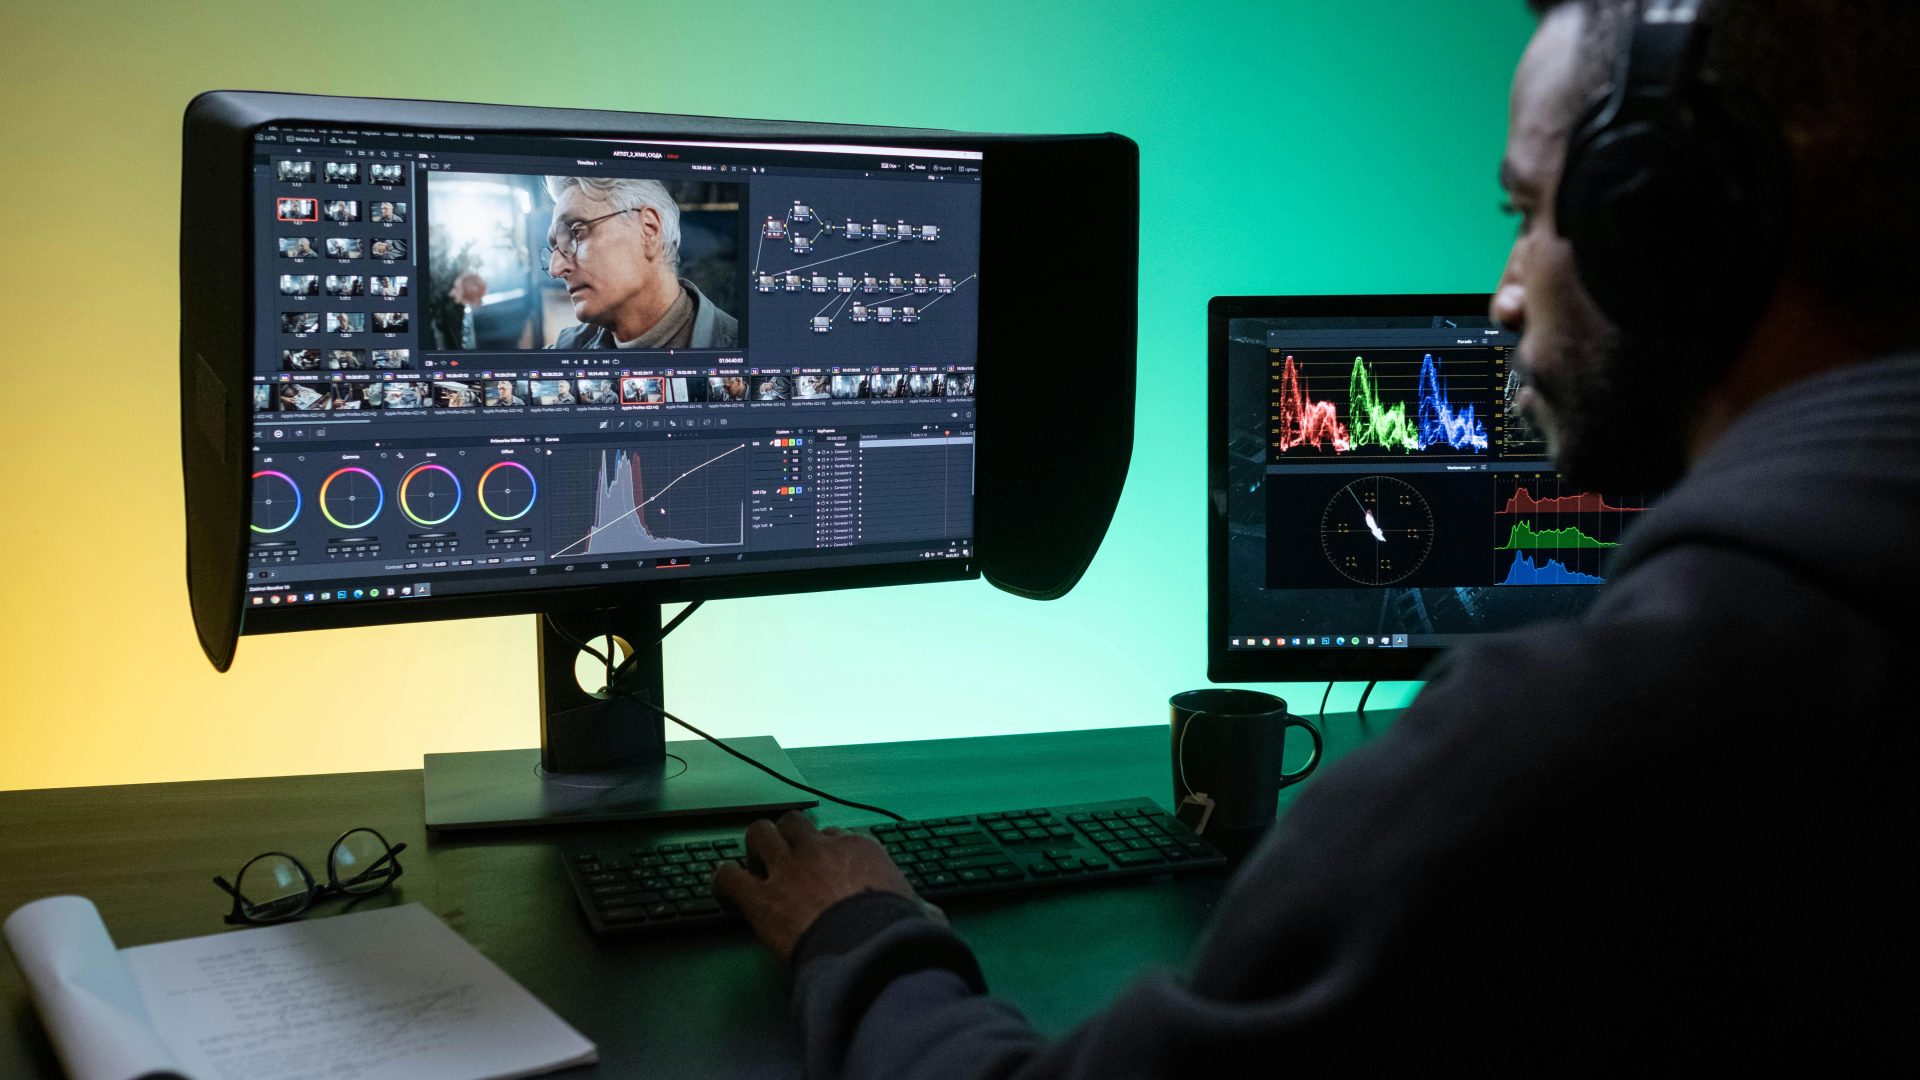
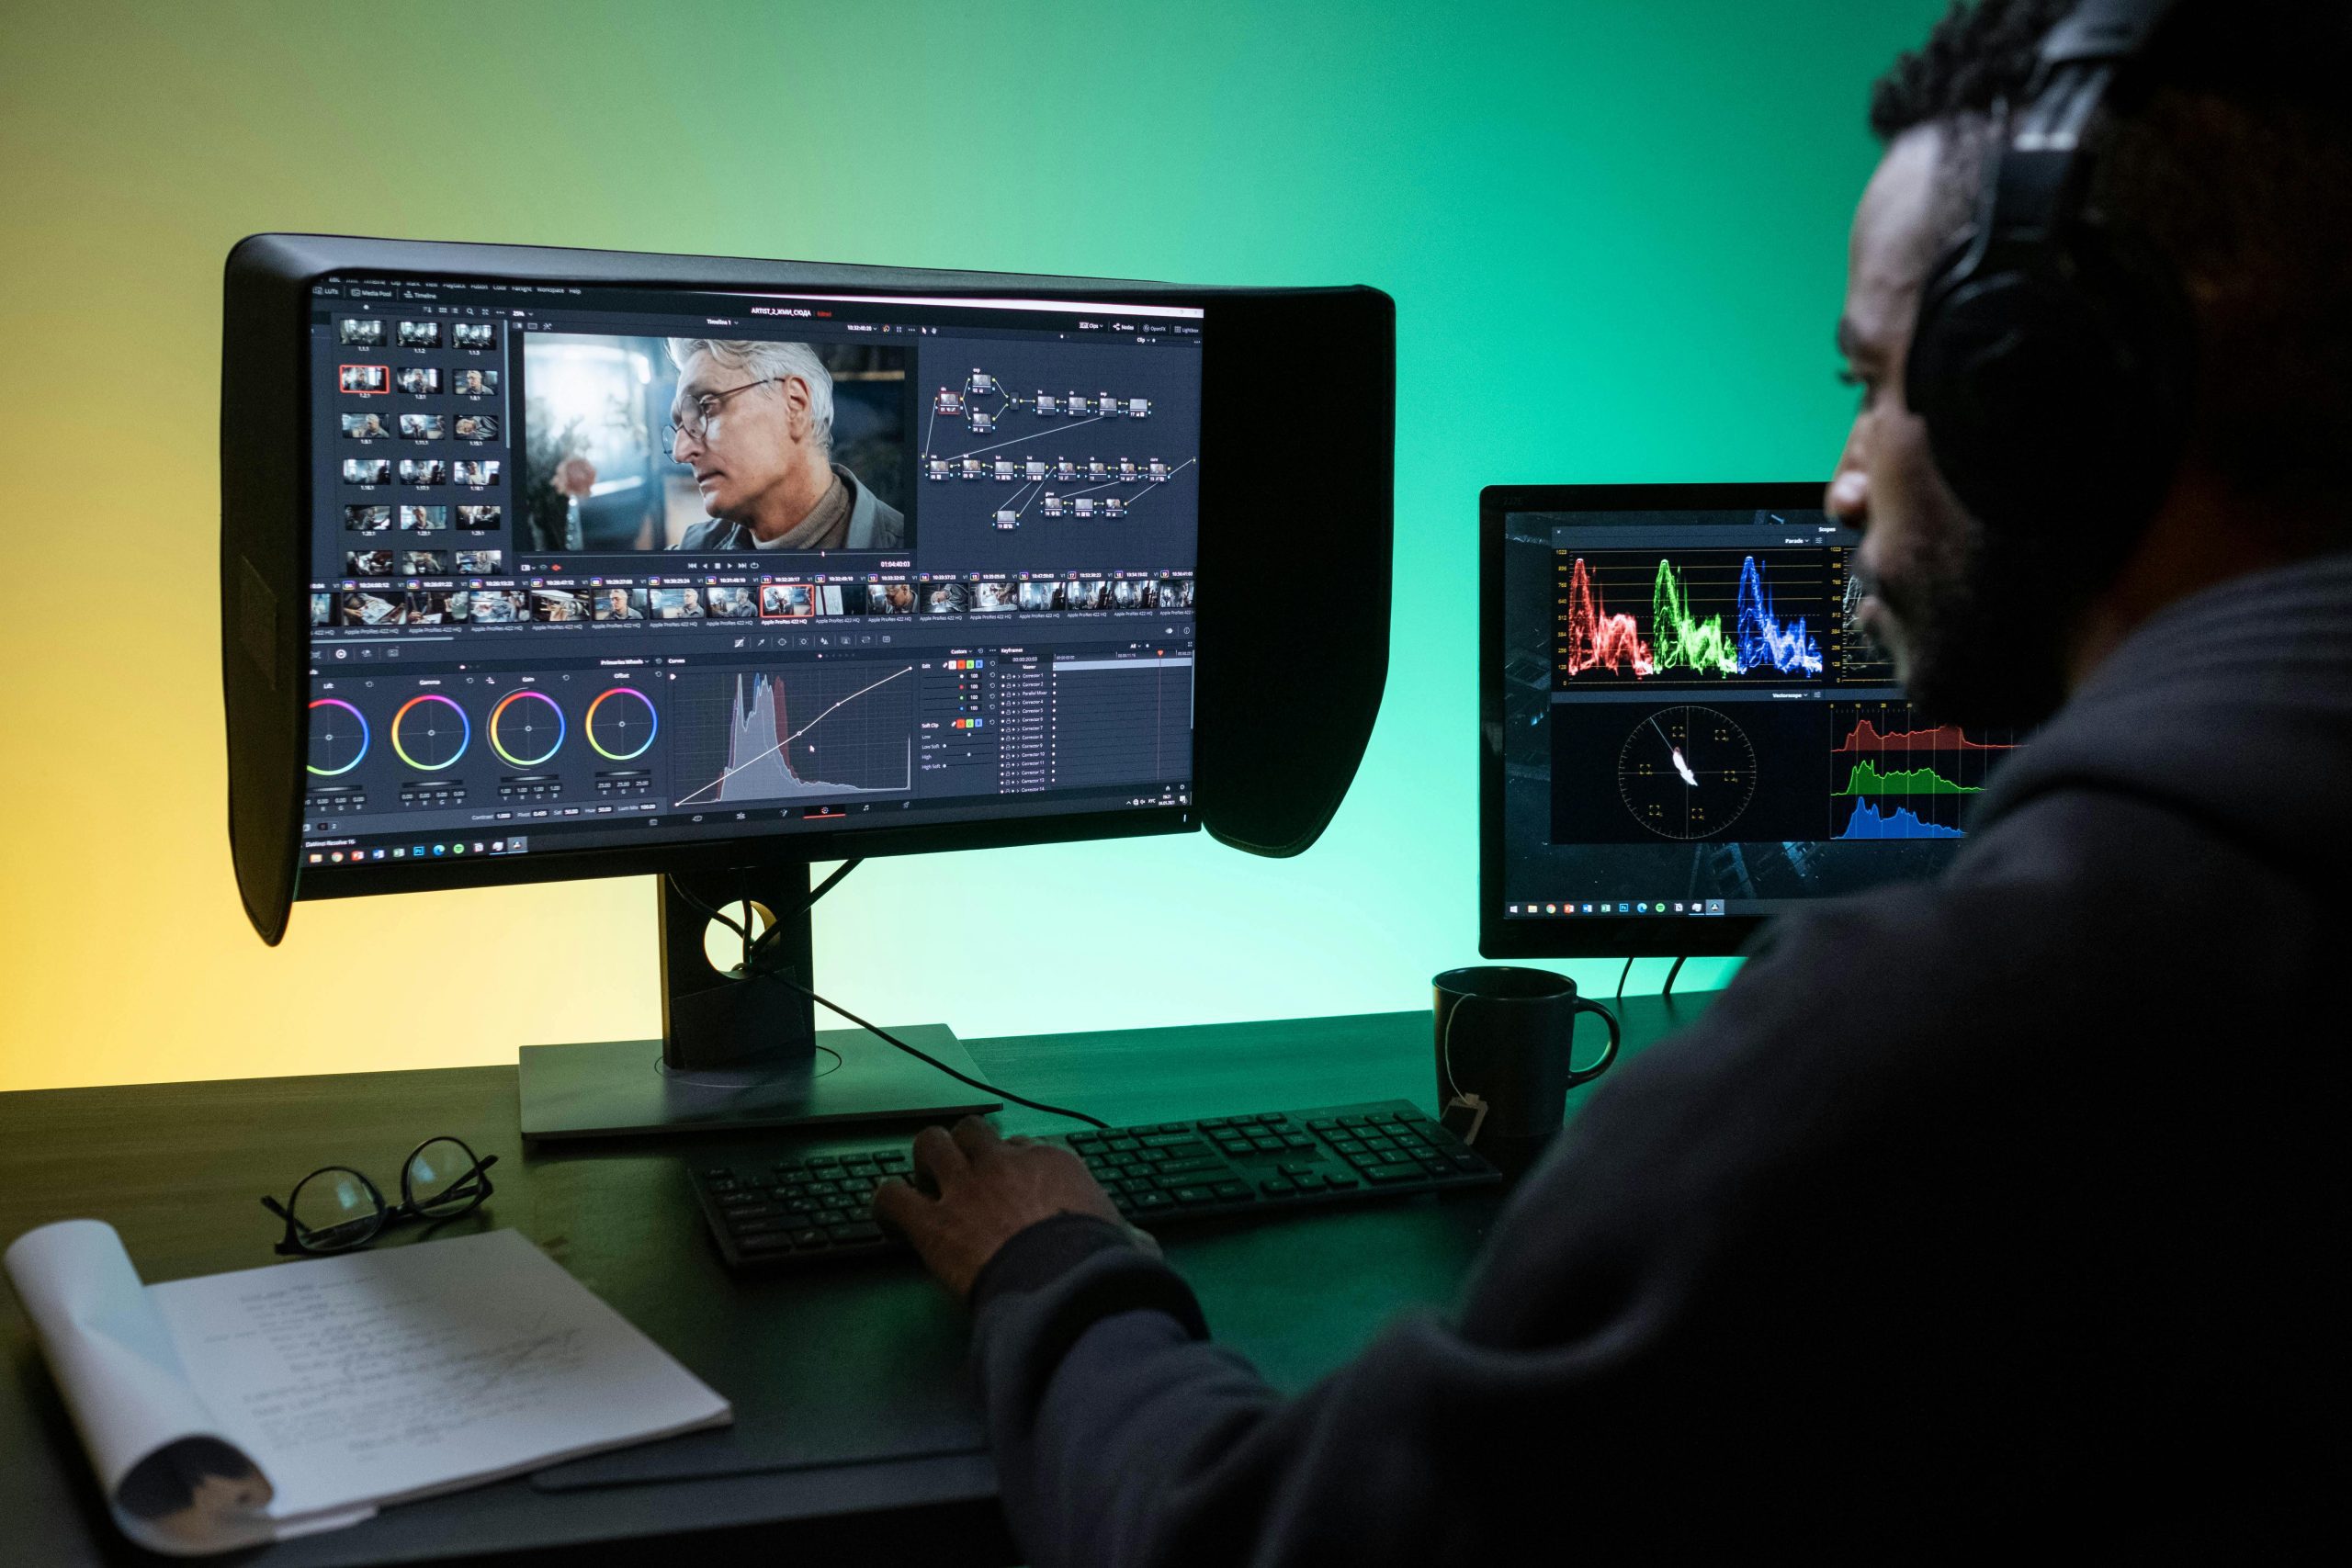
3. DaVinci Resolve:
A free video editing software that also includes powerful color grading capabilities, making it a favorite among filmmakers.
4. iMovie:
A user-friendly video editing tool for Mac users, suitable for beginners and casual video editors.
5. HitFilm Express:
A free video editing and visual effects software with advanced features for creative projects.
6. Filmora:
A user-friendly video editing tool suitable for beginners and those looking to create video content quickly.
7. Adobe After Effects:
A powerful software for creating motion graphics, visual effects, and animations that can be integrated into your video projects.
8. Shotcut:
An open-source, cross-platform video editing software that is free to use and has a wide range of features.
9. Sony Vegas Pro:
A professional video editing software known for its user-friendly interface and features.
Getting Started in Video Editing
If you’re a newcomer to video editing and want to learn how to edit videos, here’s a step-by-step guide to help you get started:
1. Select Your Video Editing Software:
Choose a video editing software that suits your needs and budget. If you’re just starting, you might want to begin with a more beginner-friendly option.
2. Learn the Basics:
Familiarize yourself with the interface and basic tools of your chosen video editing software. Most software options offer tutorials and guides to help you get started.
3. Shoot Footage:
If you’re working with your own footage, capture video content using a camera or smartphone. Make sure your shots are well-composed and well-lit for better results.
4. Import Media:
Import your video clips, audio files, and any other media into your video editing software.
5. Understand the Timeline:
Learn how to use the timeline or sequence in your video editing software. This is where you arrange your clips in the correct order.
6. Cut and Trim Clips:
Begin by cutting and trimming your clips to remove unwanted portions or errors. Familiarize yourself with tools like the razor tool or split function.
7. Add Transitions:
Experiment with different transitions to smooth out your video’s flow. Common transitions include cuts, dissolves, and fades.
8. Work on Audio:
Adjust audio levels, remove background noise, and mix audio tracks. Make sure your audio is clear and matches the video.
9. Add Text and Graphics:
Practice adding text, titles, and graphics to your video. Explore the software’s text tools and features.
10. Experiment with Effects:
Play around with visual effects, such as color correction, filters, or creative effects, to enhance your video.
11. Export Your Video:
Choose the appropriate export settings based on your intended use. Common settings include resolution, format, and compression.
12. Share Your Work:
Share your edited video on social media, video-sharing platforms like YouTube or Vimeo, or with friends and family to get feedback.
13. Learn and Iterate:
As you continue to edit videos, you’ll improve with each project. Don’t be afraid to learn from mistakes and iterate on your editing skills.
Advanced Tips for Video Editing
As you progress in your video editing journey, consider these advanced tips to take your editing skills to the next level:
1. Keyboard Shortcuts:
Master keyboard shortcuts for your chosen software. This can significantly speed up your editing process.
2. Create Templates:
Save time by creating templates for common video styles or formats you use frequently.
3. Audio Enhancement:
Learn advanced audio editing techniques, such as noise reduction, equalization, and audio effects to improve sound quality.
4. Advanced Transitions:
Explore more complex transition effects like wipes, slides, and motion graphics for creative storytelling.
5. Color Grading:
Dive deeper into color correction and grading to give your videos a cinematic or professional look.
6. Motion Graphics:
Learn how to create and integrate motion graphics and animations into your videos for a polished and engaging visual style.
7. Multi-Camera Editing:
If you work with multiple cameras, understand how to synchronize and edit footage from different angles effectively.
8. Green Screen Editing:
Experiment with green screen (chroma key) editing to composite your subject into different backgrounds or settings.
9. Collaboration:
If you collaborate with others, master the art of efficient collaboration by using tools that allow shared editing and feedback.
In Conclusion, Video editing is a powerful skill that can help you express your creativity, tell compelling stories, and engage with an audience. Whether you’re creating content for personal enjoyment, educational purposes, or as part of a professional career, the principles and processes of video editing are valuable tools to have in your toolkit.
While the world of video editing can seem complex at first, it’s a skill that becomes more intuitive and rewarding with practice. By starting with basic video editing software, learning the fundamental techniques, and gradually exploring more advanced features, you’ll develop the expertise to produce high-quality videos that capture attention and convey your message effectively.
So, are you ready to embark on this exciting journey into the world of Video Editing?
This program promises to equip you with the skills, knowledge, and practical examples you need to excel in this vibrant field.
Join us at Skilharvest, and together, let’s make you the most sought-after video editor in Africa!